I have two of the hp -6 90s one is missing the ferrule but it’s new
Sent from my iPhone using Tapatalk
PM me a price break down, if you don’t mind.
I have two of the hp -6 90s one is missing the ferrule but it’s new
Sent from my iPhone using Tapatalk

Not Cervini’s.. Came from Extreme Dimensions
How was the fit and what material is it?
Duraflex prep instructions said:
Fiberglass is a type of plastic that is impregnated with small glass fibers for reinforcement (it is also known as GRP, for glass-reinforced plastic or FRP for fiberglass reinforced plastic). Fiberglass is lightweight, strong in both compression and tension, and easy to mold into intricate shapes. It was first introduced in the aircraft industry, and has since gained wide acceptance as a material for boat hulls, car bodies, and even residential construction.
The special properties of fiberglass make it a bit tricky to sand into shape, and learning how to sand fiberglass requires a lot of preparatory work and patience. Fiberglass parts are almost never ready for paint when they arrive.
If you are working with a new fiberglass component, it will have a thin layer of gelcoat on its surface. Gelcoat is an epoxy or resin-based compound that is used to line the molds when making fiberglass components. The purpose of the gel coat is mainly to be a separation layer so the part will pop free from it's mold during manufacturing. However the gel coat also serves as the base surfacing layer on the fiberglass product. Gelcoat often can have waviness as well as small pin holes that need to be addressed before it can be painted.

Assemble the fiberglass components, if applicable. If your project consists of multiple fiberglass components (like the body, doors, and hood of a car), assemble them before sanding or finishing. This will allow you to sand continuously between each component, creating a smooth, consistent joint.Once the seams are all of proper gap and fitment the items can be taken back apart. You always want to verify the fitment and panel gaps before proceeding to paint preparation.

Clean the entire fiberglass component with a wax and grease remover. Using this product is especially important when working with a new fiberglass component, as it is necessary to remove the release agent the substance used to pry the component loose from its mold. Wax and grease remover can be purchased from automotive parts stores.Any left over wax or grease can contaminate your finish when it comes to paint so this is a very important and critical step to get right. 
Sand the fiberglass using a coarse-grit sandpaper. For the first sanding pass, use either 120 or 180-grit sandpaper. Mount the sandpaper to a long sanding board for large, flat components. For smaller areas or areas with intricate curves, a rubber sanding block works well to follow the shape of the piece.
[*=center]Never sand all the way through the gelcoat into the fiberglass itself. This causes 2 problems: it weakens the strength of the component, and it creates holes in the fiberglass that allow it to rupture through the paint later.
[*=center]The gelcoat can be used as a guide during the initial sanding. Sanding the gelcoat just enough will make its appearance dull, so when the entire component has lost its shine, you have sanded enough to allow the primer or paint to adhere.
[*=center]Every square millimeter of the finish to be painted will require sanding and prep work.
Fill any low spots in the fiberglass. To raise the profile of low spots in the surface, use a fiberglass glazing putty. Work the putty into the low spot, and then sand it away until the area is flush with the rest of the surface.
Once the part has been fully sanded the blemishes will be more apparent. This step will require multiple stages of sanding and filling until the surface is true and free of any defects such as pin holes, surface waviness, spider cracks, chips or other problems.
Apply primer to the fiberglass. Once the component has been sanded with coarse-grit sandpaper, apply the primer and allow it to set. Avoid using etching primer, as it won't adhere well to fiberglass.
It is optimal to use a heavy primer coat with a high build primer suited for FRP. This will act almost like a sprayable body filler and allow you to spray out a uniform layer over your prepped piece.
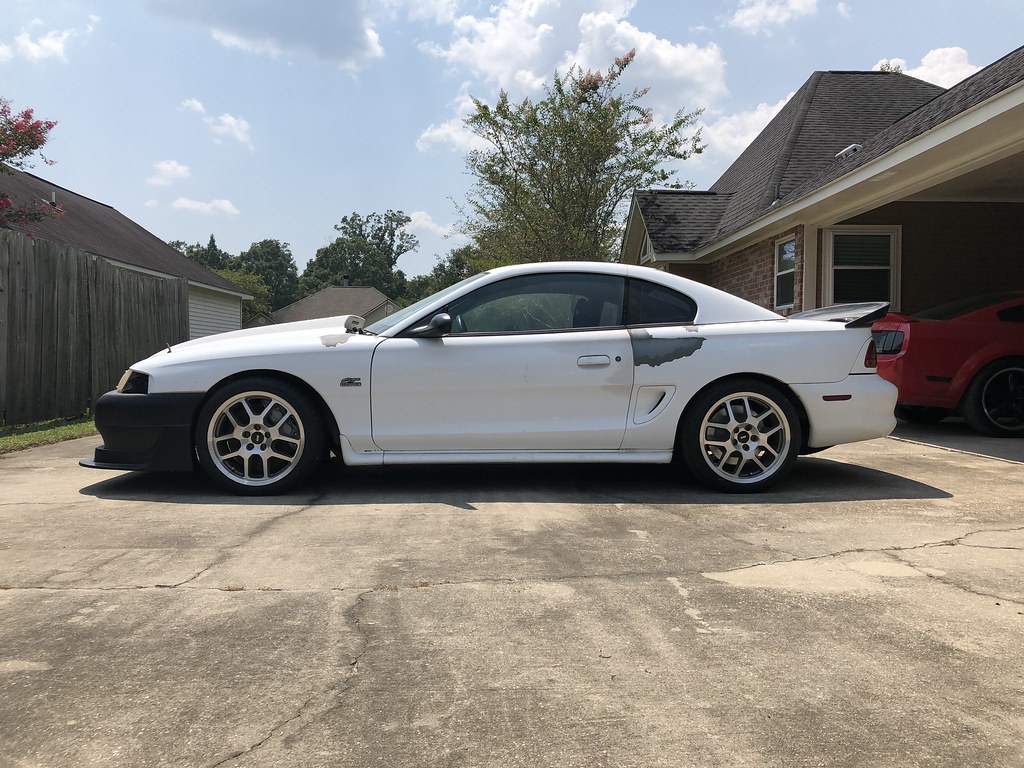
Starting to look like a racecar.
just curious what is the advantage of having an easily removable bumper? Is there something behind it we need fast access to?
I never pictured you to be a cobra R front bumper kinda guy lol...I personaly think that with the hood vents together looks awesome!!!

